Free Flow Combat
 Role: Combat Designer
 Engine: Unreal Engine 4
 Tools Used: UE4(Blueprints)
 Team Size: Solo
Goals:
 Recreate the fluid combat found in the Batman: Arkham games
 Design and implement enemy detection for combat system
 Implement cinematic final hit 
Enemy Detection 
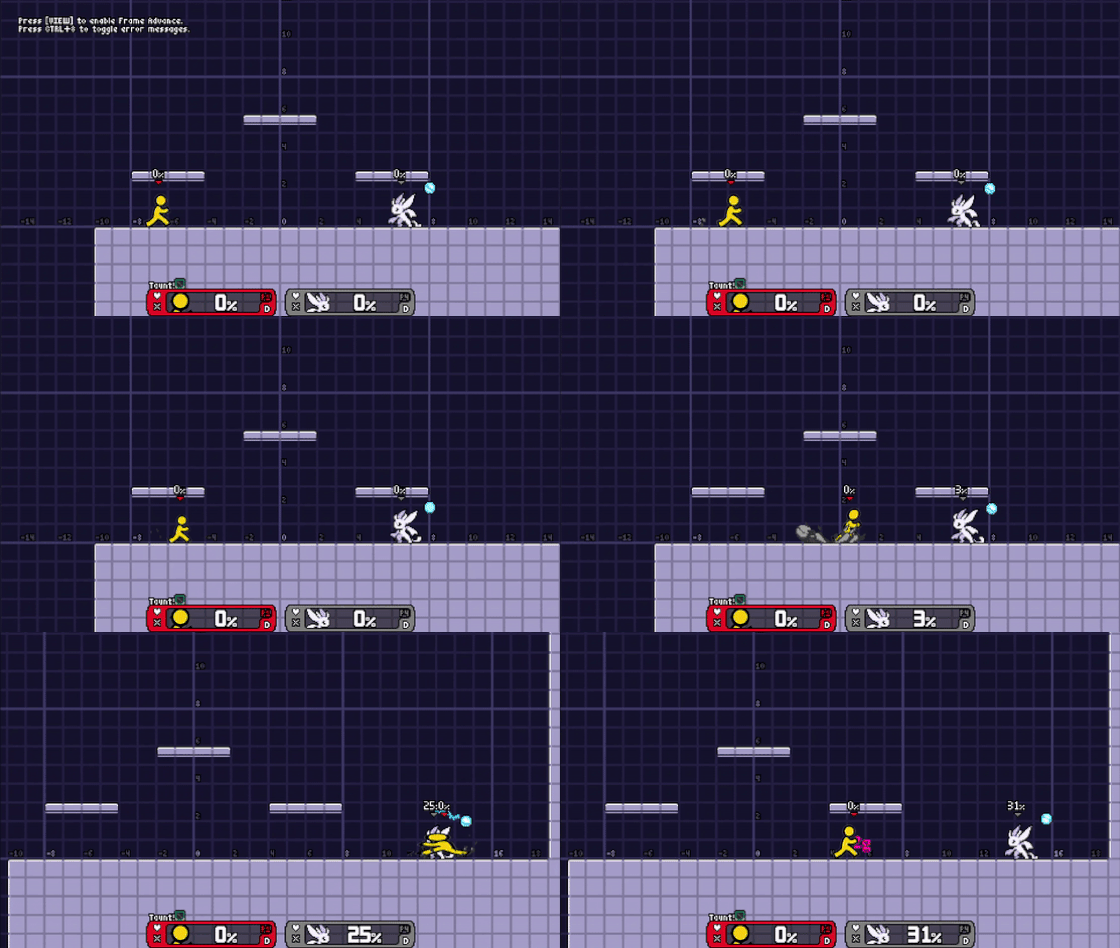
The main problem that needs to be addressed when making a fluid combat system is a solid enemy detection system. The enemy detection is what allows a character to weave attack between different enemies. 
The first thing I did when trying to solve this is simply do a sphere cast based off player input. If you hit an enemy you simply set that as the next enemy to attack. If the spherecast fails to hit anything we would then find the enemy that is the closest to the players input. We can get the vector length of all enemies in range to the end of the spherecast, the enemy with the smallest vector length would then be set as the next enemy to attack. If there is no input we simply just set the enemy that is the closest to the player character as the next enemy to hit.

Spherecast from player input

Vector from enemy location to end of spherecast from player input

Setting second camera as a new view target 

Final Hit
For the cinematic final hit, I added a second camera in the scene that would zoom in and was offsetted from the player. I then tested swapping between the main camera and the second camera to see what would be the best view point as well as blend speeds.
For the final hit I checked to see if there was only one enemy left, if so I then checked to see if the next hit was in the range to knock out the enemy. If the next hit would knock out the enemy I would then blend between the two cameras. 

Cinematic Final Hit

Final Hit (2nd Pass)
Looking at the final hit the blends happens while the hit is in progress. This results in players unable to feel satisfaction from the hit. Along with this the transition back to the main camera is quite jarring. I attempted a second pass on this feature to fix some of these issues.
We now slow down the character's animation to build anticipation and cut to different camera shots to get a better angle of the final hit. We focus on the enemy and slowly pan to follow the motion of the action before slowly panning back to the main game camera.

Hit Pause
In addition to another pass on the final hit, hit pause to the action was added. Taking another look at the impact of hits, there is an aspect about it that is too smooth which makes it feel soft, there is no resistance between the hit and the enemy being hit. To fix this hit pause was added to give a sense of weight to each of the player's hits and let the player catch a frame of the impact and inform the player the hit was successful.

No Hit Pause

Hit Pause

No Hit Pause

Hit Pause

Mesh Slicing
 Role: Combat Designer / Tech Design
 Engine: Unreal Engine 4
 Tools Used: UE4(Blueprints)
 Team Size: Solo
Goals:
 Learn about Procedural Meshes / Mesh Slicing
 Recreate the mesh cutting mechanic found in Metal Gear Rising: Revengeance

Mesh Slicing with plane

Starting with Mesh Slicing 
I decided to watch the UE4 Live training for Procedural Mesh Slicing to start since I had a hard time deciding what was the best way to approach this problem. I learned a lot about Procedural Meshes and learned that the node in Blueprints that is doing all of the heavy lifting is the Slice Procedural Mesh Node.
Getting slicing to work is as easy as making sure all procedural meshes are set up properly, and then having a plane overlap with the meshes in game and feeding the plane position and plane normal to the Slice Procedural mesh Node in blueprints.

Testing mesh cutting on static mesh of mannequin 

Slicing in Combat
I thought it would be cool to add this functionality to a sword that could cut enemies. I wrote some basic code for the character to attack and refactored some of my code to do a overlap check on the sword and slice meshes when they overlap. 

Mesh Slicing with Sword

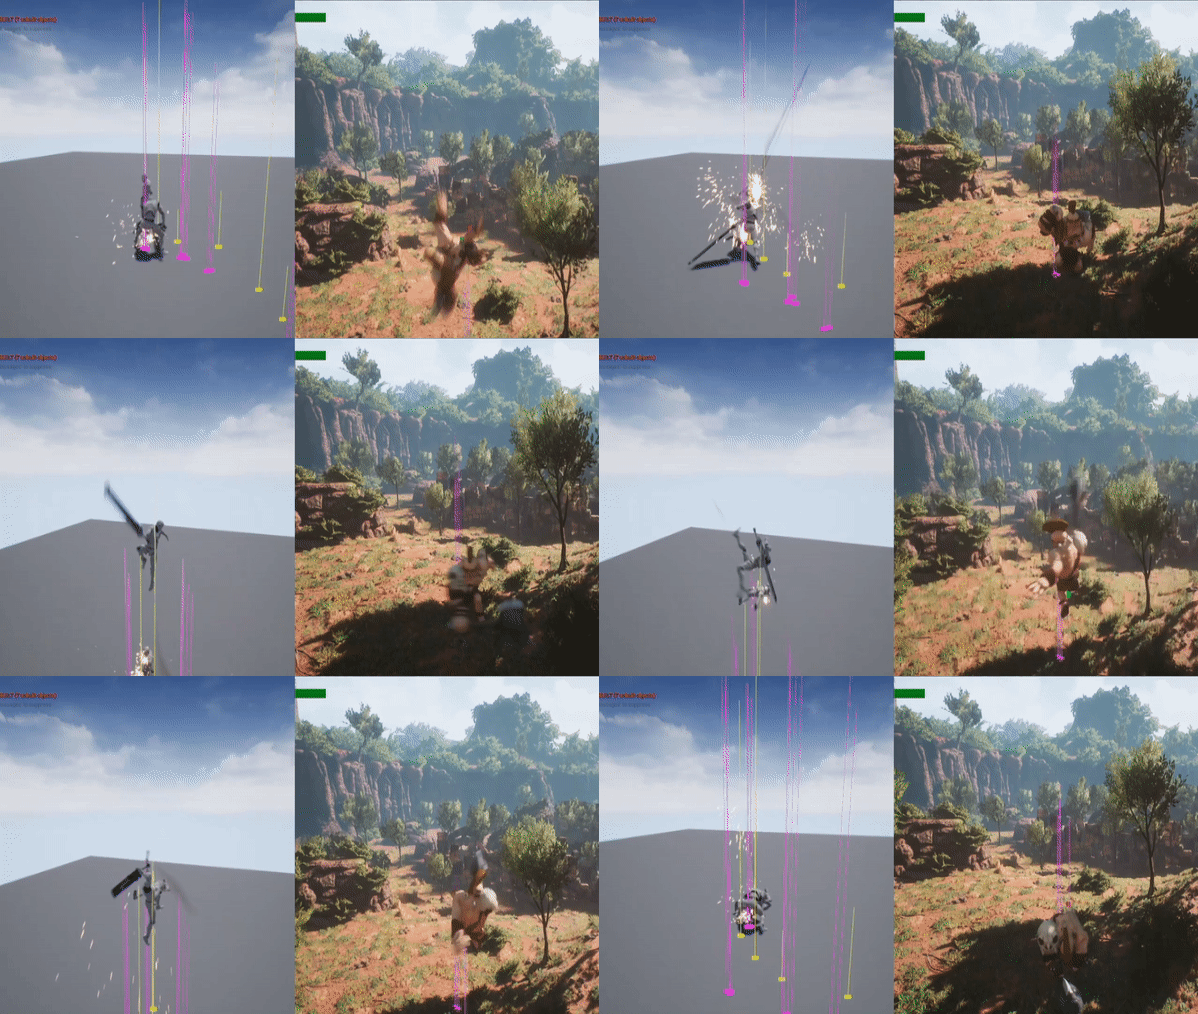
Mesh Slicing with Wolverine-esque Claw

Wolverine-esque Combat / Cutting
To extend this further I added three swords in to form a sort of Wolverine claw and got some pretty cool results. Will definitely have to come back to this and see if I can solve slicing skeletal meshes.

Mesh Slicing with Wolverine-esque Claw

Mesh Slicing mannequin with Wolverine-esque Claw
You may also like

Back to Top